Then I print the sucker out full-size, and use it to make a final, revised drawing on tracing paper. I coat the reverse side with colored pencil, tape it down to the canvas surface (which has been coated with a few layers of gesso and sanded to be sort of smooth), and trace over all the lines again. This leaves a faint colored outline on the canvas, which I go over with pencil once again to get this: 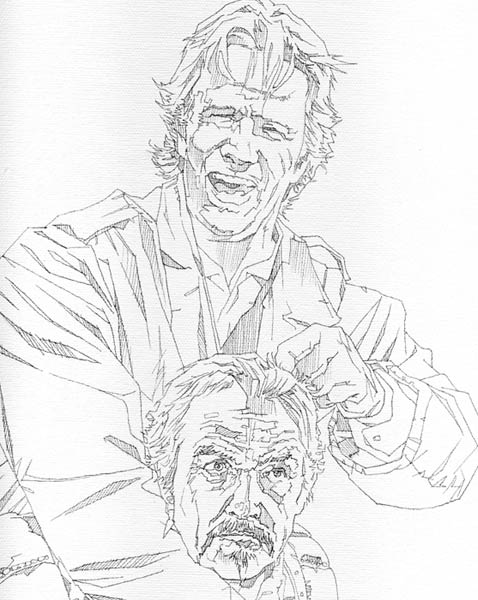
So basically I end up drawing the same thing like five times, but having the structure there makes the actual painting part go faster. This was done in a linear, cross-hatching style, but for a more classical feel I would use a fully-rendered tone drawing. But that takes a lot more time. After spraying it with a lot of Fixatif so the pencil won't smear, I give its first coat: 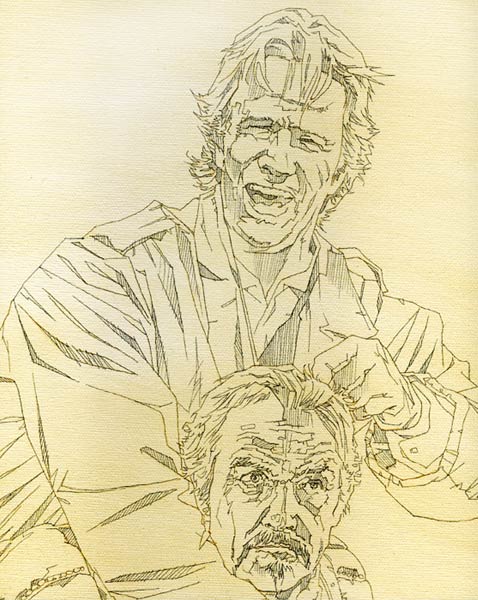
The undercoat leaves a smoother surface to paint over, and (according to all those 16th-century guys) serves to 'unify' the painting. I usually use a neutral brown mixed with a lot of Liquin, a medium that adds transparency and speeds up drying. 'Speeds up drying' means, 'will still take at least a day' when you're dealing with oils. The next major step is to fill in all the midtones: 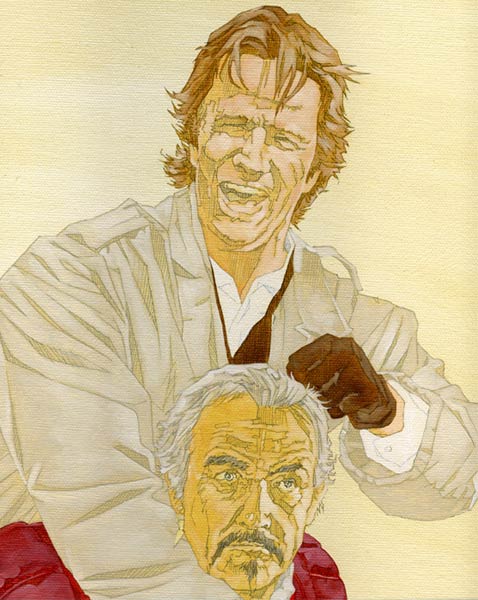
The colors are thinned-down with Liquin (note that you can still see the pencil very deliberately sticking through), with the highlights painted wet-in-wet, just by mixing white into the main color. Intro painting theory says that the brighter a highlight, the thicker and more opaque the paint should be. Once all the main color areas have dried, then additional layers, or 'glazes,' can be laid on top to brighten highlights, darken shadows, and alter tones. For instance, the slight red tinge in a cheek can be made just by rubbing in a bit of rose. A lot of the painting process consists of putting down colors, seeing how they react against each other, then making adjustments. Eventually, you reach a point where your changes aren't making much of an overall difference, and that's when you're probably done: 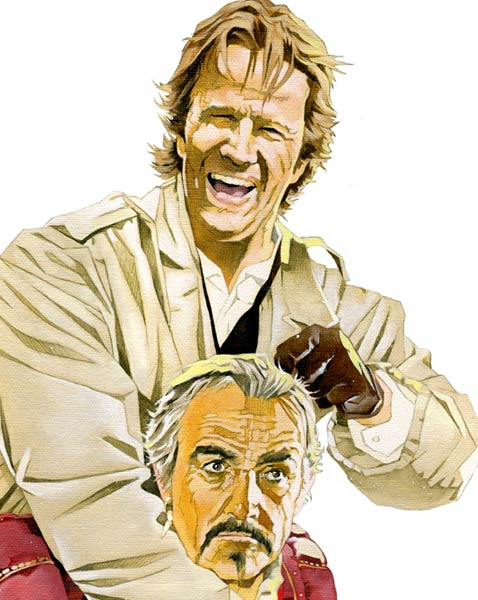
Now, there's a bit of a leap between the last two images. There were three or four painting sessions worth of adjustments in there, but this was made under deadline, so towards the end I was less interested in making scans than I was in just getting the thing done for the show. That's also the reason there's really no background. And that's how you make an art! Click to see the finished piece. |
|
|
|||||||||||||||||||||
|
|
|
|
|
|
|
|
|
|
|
|
|
|
|
||||||||
|
|
|
|
|
|
|
|
|||||||||||||||
|
|
|
|
|
|
|
|
|||||||||||||||
|
|
|
|
|||||||||||||||||||
|
|
|
|
|||||||||||||||||||
|
|
|||||||||||||||||||||
|
|
|
|
|
|
|
|
|
|
|
|
|
|
|
|
|
|
|
|
|
|
|